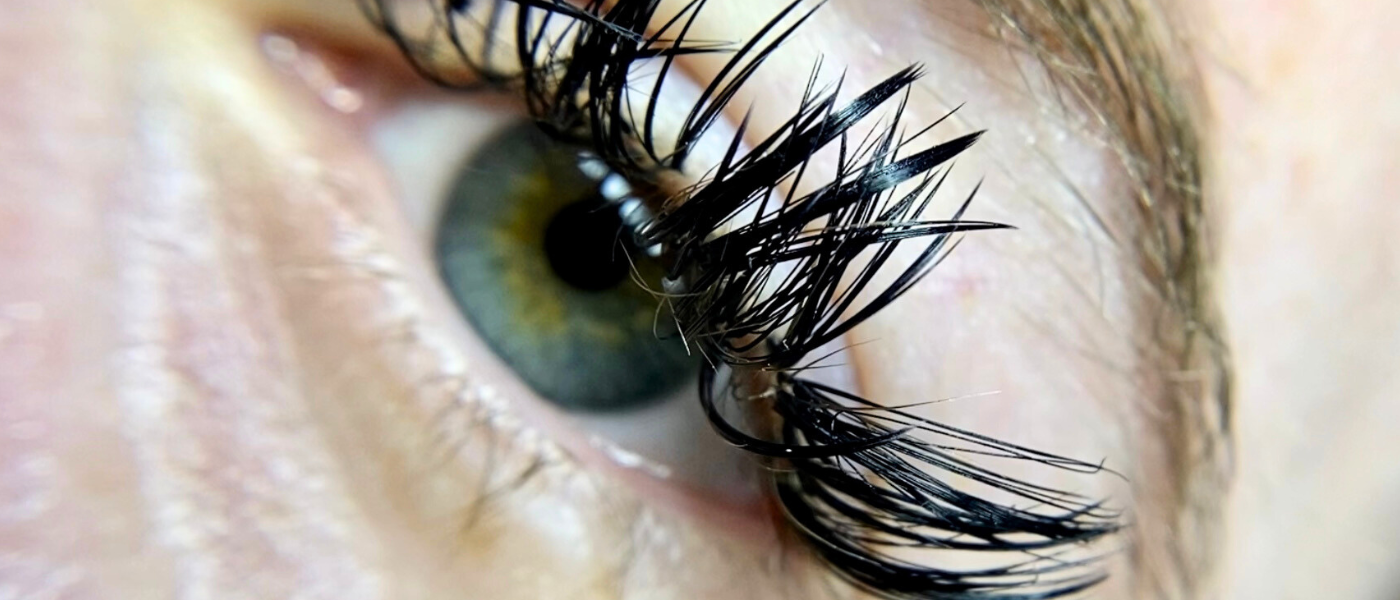
Hey there, lash lovers! Let’s chat about something we all dread but inevitably face: saying goodbye to those fabulous eyelash extensions. Love them or not, there comes a time when they’ve got to go. So, if you’re thinking of removing them at home, grab a cup of coffee, and let’s dive into this: a safe DIY Lash Removal.
To Pluck or Not to Pluck: The Salon vs. Home Dilemma
First things first: should you zip back to the salon, or is your bathroom the new battleground? Professionals are your safest bet, but hey, life happens, and sometimes you’ve got to take matters into your own hands. If you’re going the DIY route, keep reading for some insider tips.
The DIY Downside: Risks of Going Solo
Picture this: you, your bathroom mirror, and a stubborn lash extension. These bad boys are stuck on with some seriously strong glue, and playing it wrong can mean trouble for your eyes and natural lashes. Katrina Morozova, a lash pro, waves a big red flag on DIY attempts, warning of potential risks like eye infections. Yikes!
Possible At-Home Helpers
So, what’s a lash-loving gal (or guy) to do? Here are a few tricks that might just do the trick:
- Glycol-Based Makeup Removers: These guys can weaken those adhesive bonds.
- Steamy Shower Strategy: A hot shower isn’t just great for thinking; it can help loosen lash glue.
- Castor Oil Routine: Before hitting the hay, try some castor oil on those lashes. It’s like a magic potion for glue dissolving.
The Dos and Don’ts of Lash Liberation
- Don’t: Reach for those tweezers or yank your lashes. Trust me, it’s not a good look.
- Do: Be patient. This isn’t a race.
- Really Do: Call in the pros if things feel stuck.
Step-By-Step to Freedom
- Soak acotton ball with your chosen oil-based makeup remover. 2. Gently press and massage the cotton over your lash line – think of it as a mini-spa moment.
- Give the oil some time to work its magic and loosen the glue’s grip.
- If you feel like an extension is ready to bid farewell, gently coax it off with tweezers – but only if there’s zero resistance.
- Keep the oil handy for any stubborn holdouts and remember, no roughhousing with those lashes.
Knowing When to Wave Goodbye
Generally, bid adieu to your extensions after two to three weeks. If you’ve still got some hangers-on, camouflage them with a bit of mascara and eyeliner. It’s like makeup judo – using their strength against them.
Risks and Precautions: The Not-So-Fun Part
Venturing into DIY territory can be a lash minefield. You might end up with broken or damaged natural lashes. When in doubt, a quick call to your lash technician is always a smart move.
Loving Your Lashes Post-Removal
After the extensions are gone, treat your natural lashes with the TLC they deserve. Avoid the temptation to rub or poke around your eyes. An eyelash conditioner or serum can be your best friend here, helping your lashes bounce back stronger.
Wrapping It Up
While I’m all for a good DIY, when it comes to your lashes, proceed with caution. Be gentle, be patient, and when in doubt, reach out to a professional. Your natural lashes will thank you for it.
Transforming your look with eyelash extensions is a breeze, but remember, the real test is in the removal. Prioritize your lash health, whether you’re heading back to the salon or taking the plunge at home. Follow these steps, and you’ll be a pro at parting ways with those extensions, safely and effectively. Stay glamorous, and most importantly, stay safe!